Debug using SWD
Introduction
Cortex-Debug is an extension for Visual Studio Code to streamline the debug process when working with ARM Cortex-M microcontrollers.
Requirements
If you did not install these previously, you need to install now.
Cortex-Debug
Install
Cortex-Debugextension by marus25 in VSCODE.gdb-multiarch
Install
gdb-multiarchby executing commandsudo apt install gdb-multiarch.
Setup for ST-Link or JLink
Update or create .vscode/lauch.json file.
 1    {
 2     // Use IntelliSense to learn about possible attributes.
 3     // Hover to view descriptions of existing attributes.
 4     // For more information, visit: https://go.microsoft.com/fwlink/?linkid=830387
 5     "version": "0.2.0",
 6     "configurations": [
 7         {
 8             "name": "Cortex Debug",
 9             "cwd": "${workspaceFolder}",
10             "executable": "${workspaceFolder}/build/BasicSetup.elf",
11             "request": "launch",
12             "type": "cortex-debug",
13             "runToEntryPoint": "main",
14             "device": "STM32F407VG",
15             "interface": "swd",
16             "servertype": "stlink",
17             "gdbPath": "/usr/bin/gdb-multiarch"
18         }
19     ]
20    }
Change .elf filename for executable and device name for device (for bluepill, “device”: “STM32F103C8”).For jlink, change “servertype”: “jlink”.
Setup for OpenOCD
OpenOCD server is better than ST-Link server. We also prefer to use OpenOCD instead of ST-Link but it is not neccessary.
Install OpenOCD by executing command sudo apt install openocd. Update .vscode/launch.json.
 1{
 2    "version": "0.2.0",
 3    "configurations": [
 4        {
 5            "name": "OpenOCD Debug",
 6            "cwd": "${workspaceFolder}",
 7            "executable": "${workspaceFolder}/build/BasicSetup.elf",
 8            "request": "launch",
 9            "type": "cortex-debug",
10            "runToEntryPoint": "main",
11            "device": "STM32F407VG",
12            "interface": "swd",
13            "servertype": "openocd",
14            "configFiles": [
15                "interface/stlink-v2-1.cfg",
16                "target/stm32f4x.cfg"
17            ],
18            "gdbPath": "/usr/bin/gdb-multiarch"
19        }
20    ]
21}
Change .elf filename for executable and device name for device. Also you need to chage configFiles (e.g. target/stm32f1x.cfg for bluepill or interface/jlink.cfg for jlink interface). For more about OpenOCD, watch :this.
Run Debugger
Connet your ST-Link or JLink to your microcontroller and your PC. If you use external
debuggerlikeJLinkorST-Linkadapter, connect it as:SWCLKof microcontroller toSWCLKof debugger.SWDIOof microcontroller toSWDIOof debugger.SWOof microcontroller toSWOof debugger. (Optional, only if you want to see ITM messages)NRSTof microcontroller toNRSTof debugger. (Optional, only if you want to hard reset microcontroller using debugger)GNDof microcontroller toGNDof debugger.3V3of microcontroller to3V3of debugger.
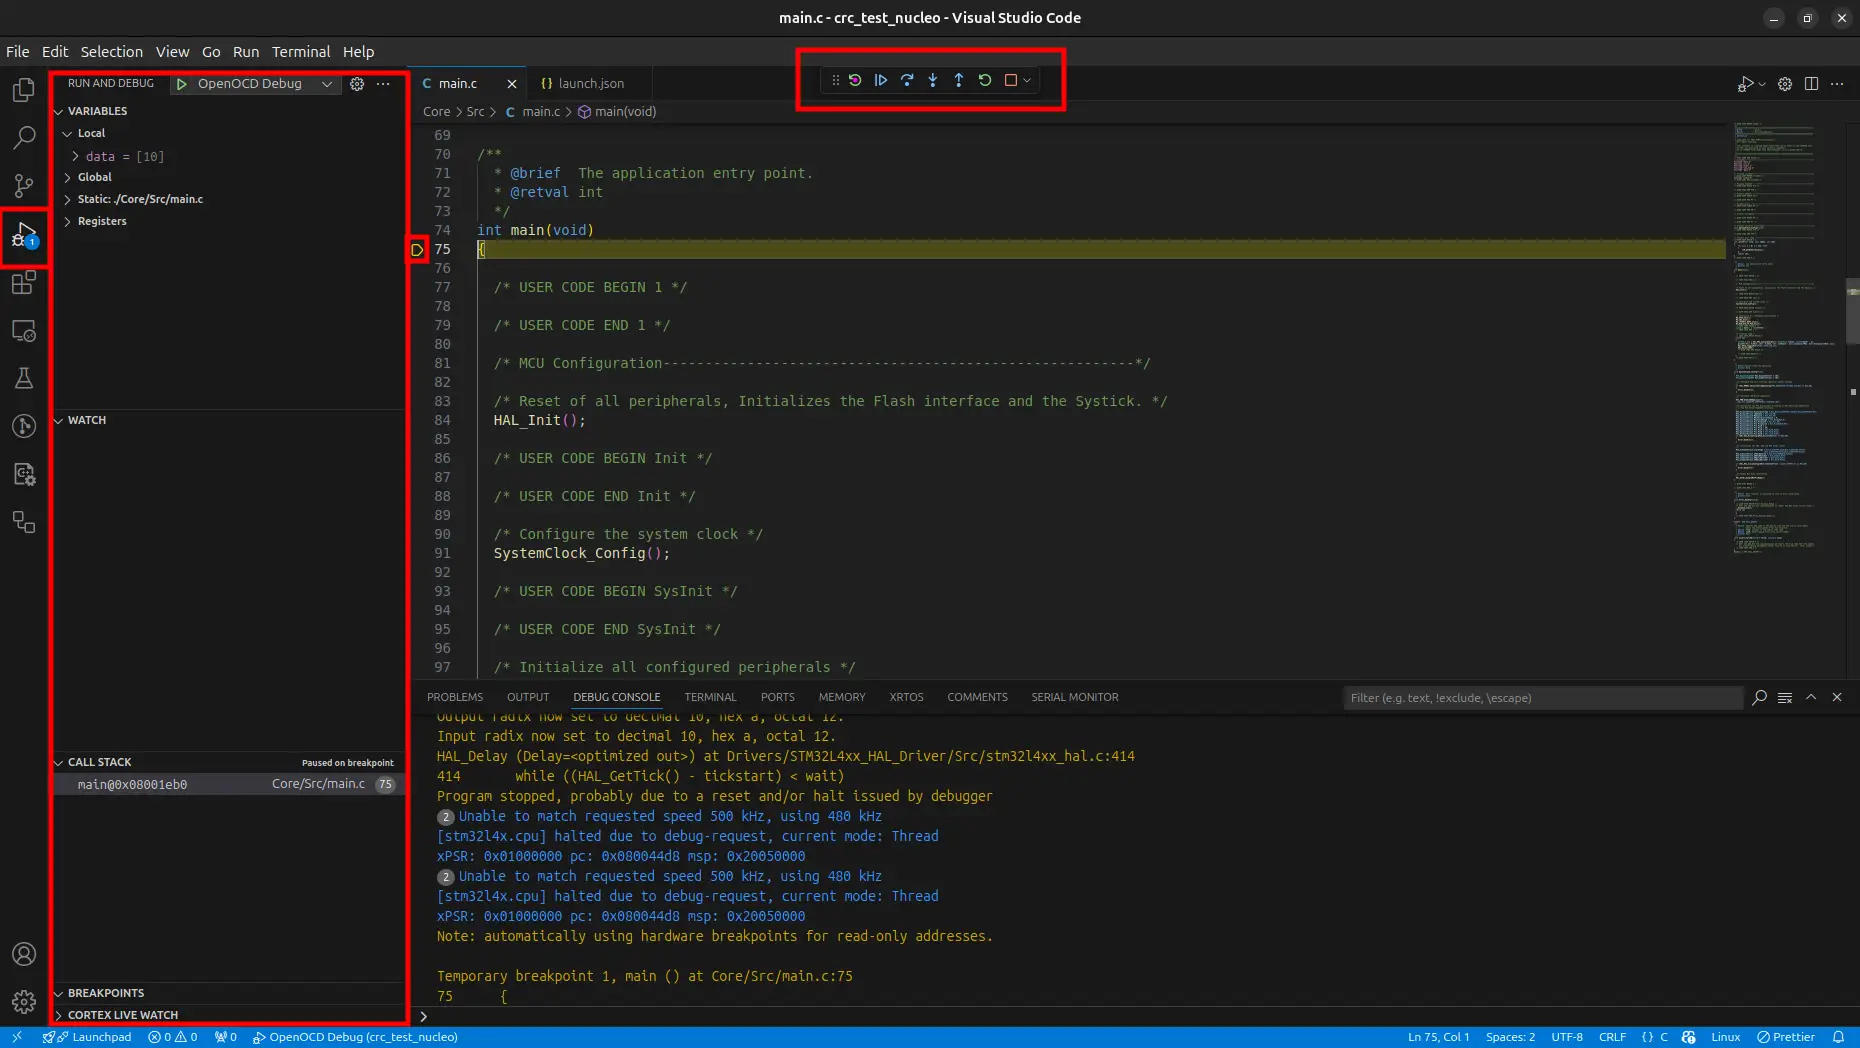
Go to
Run and Debugsection in VSCODE.Click
Runbutton.
You will see a floating toolbar which you can use for continue, step over, step into, step out, restart and stop.